Wednesday 23 November 2016

L’Oreal Vernis A L’Huile Nail Polish

Hi everyone and welcome back to my blog! Today’s post will be on the relatively new nail polish line, Vernis A L’Huile, from L’Oreal. I was in England (for my summer holiday) when I first spotted these in Superdrug. I absolutely fell in love with the packaging of this nail polish line, and couldn’t help but buy 2 of my favourite shades. So, I picked 116 CafĂ© De Nuit, which is a perfect peachy nude shade, and 224 Rose Ballet, which is a muted pinky brown shade. 

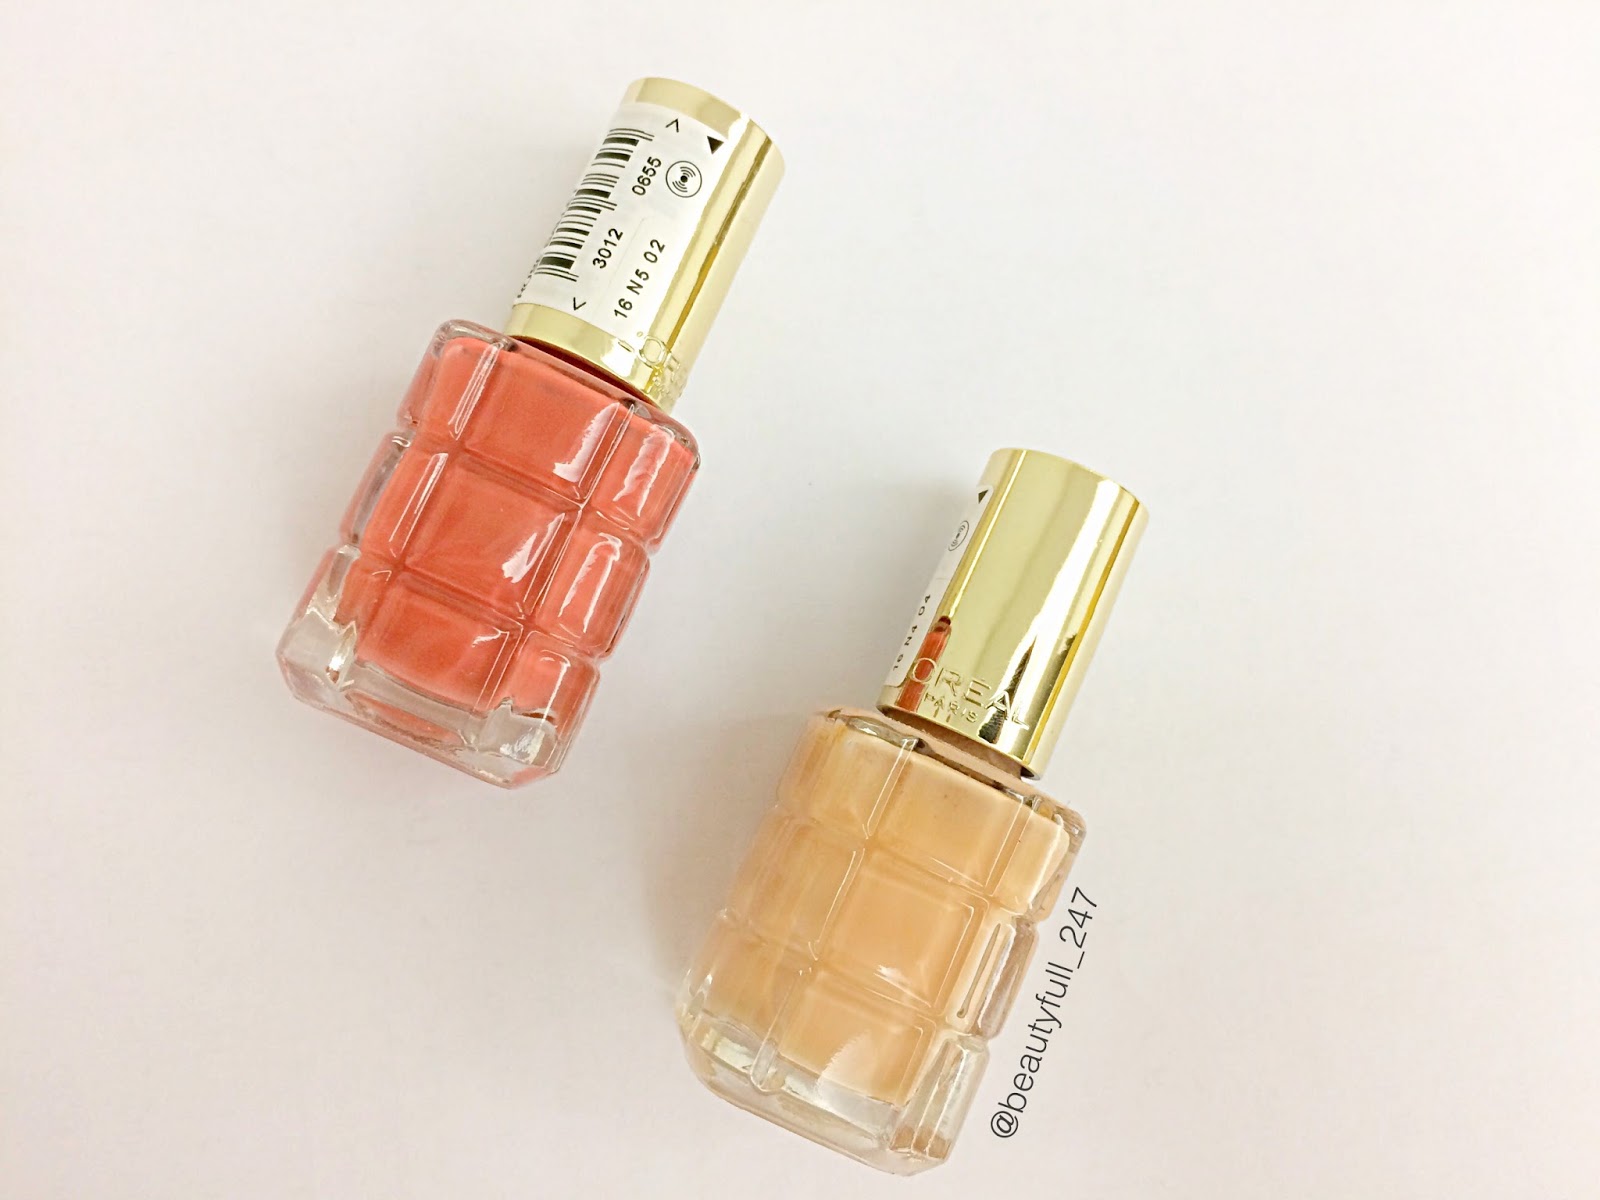
Left to right: 224 Rose Ballet & 116 Cafe De Nuit 


Description:

The L’Oreal  Vernis A L’Huile nail polish line sets it apart from other high street brands by infusing oil into their nail polish. L’Oreal also claims that it gives an intense colour (in only one stroke) and has a mirror-like shine. This nail polish line was launched in around June 2016 and comes in 22 different shades. It also has a wide, fan shaped brush for easier application. The packaging is also very pretty, which is why I got it in the first place (I know, girls need any excuse to buy). You get 13.5 ml of product which is slightly more than what you’d get with other drugstore brands.

What I like about this nail polish:

There are way too many things that I love about this nail polish! First let’s start with how pigmented it is. It is super pigmented and one stroke can definitely be enough. I tend to apply 2 thin coats, but I have tried it with just one coat too, and it still looks brilliant. I also love how this nail polish doesn’t require many steps to actually look good. I don’t use a base coat or a top coat, and it literally stays on all week without chipping. So, it is perfect for those that want their nails to look good without any fuss. The nail polish has a beautiful shine that lasts all week (so it definitely lives up to its claims). But that is not all; the nail polish has a sweet smell to it when it dries (which makes me itch to smell my nails all the time).


116 Cafe De Nuit

224 Rose Ballet


What I don’t like about this nail polish:

There isn’t much really. However, I have noticed that it does take slightly longer to dry (around 2 mins). The brush also tends to hold too much product, so I’d recommend that you really get rid of any excess product before applying it on your nails, cause it can get a little messy. 

Availability:

Available in the UK, France, Canada. I have also heard that it can be found In the US in Ulta or Walmart. Unfortunatley it still isn’t available in Kuwait

Price:

UK£4.99
France8.90 
Canada: $9.99 

Final thoughts:

I totally love this nail polish line and I would recommend it. With 22 shades available, there surely is something for everyone. It is great for those that don’t want a nail polish that requires so much maintenance in terms of top and base coats.


That is all for today, thank you so much for reading, and as always, leave any questions below. Also, don’t forget to subscribe to my blog to be updated with the latest posts! 

Friday 18 November 2016

Contouring and Highlighting

I'm sure most of you have already heard about contouring and highlighting. It has taken all over social media for the past two years or so. So whether you are familiar with this technique or not, I really hope that you'll learn something new from this post. I personally don't contour and highlight on daily basis, but I have learned many tips about it and I thought that it would be useful to share them with you all.

What is contouring and highlighting ?

Contouring is basically shaping certain areas of the face. It creates the illusion of a contoured facial structure. So in simple terms, contouring is creating a shadow. While highlighting is basically used to brighten areas that light naturally hits. So as the term suggests, highlighting just brings out the features that you want to be highlighted.


What products can be used to Contour and Highlight ?

Fortunately nowadays, there are so many contouring and highlighting products in the market, whether they are drugstore or high end products. They also come in either cream or powder form. I personally prefer creamy contour products because they are easier to blend and build up. They also look extra natural (if they are blended well). Powdered contour shades can be a little bit trickier to use, especially for beginners. Since powdered contour products can be slightly harder to blend, I recommend using a very light hand when applying them. It is preferable to use a contour shade that is two shades darker than your skin tone. Also, I would always recommend to use a matte cool toned contour colour. This is mainly because with contouring we need to create the illusion of a shadow. So a cool toned and matte shade can do that perfectly well. However, if you contour with your bronzer or a shimmery shade, you most probably won't create that natural shadow look. Blending is also key! I always try my best to blend my contour very well to avoid any harsh contour lines. You can do so by either using a brush or a sponge.


For highlighting, I also prefer using cream products. I like highlighting my face using a highlighter that is at least 1 shade lighter than my skin tone. My personal favourite way to highlight is by using a concealer. I apply the concealer on all the areas that I want to highlight, and then I blend it well using a damp sponge. I then set the concealed areas with a setting powder to avoid any creasing.


Where should I contour and highlight? 

There are several common areas to contour and highlight. For contouring, these are, but not limited to: the temples, sides of your forehead, cheek bones, nose and jawline. Whereas, the common areas to highlight are: forehead, brow bone, bridge of the nose, under the eyes, cupids bow, and the chin. These definitely are the most common areas, but that doesn't mean that you have to contour and highlight ALL of those areas! The key is to learn what looks good on your face and what facial features you'd like to stand out. For e.g. I don't personally contour my nose cause I have a relatively small nose to begin with, so when I once tried to contour it, it just looked out of proportion with my face. Also, if you have a very small forehead, then it wouldn't be ideal to further contour it cause it'll just make it appear smaller and might not end up looking the best. So the key here is to experiment and try to find what suits you best! There is no universal rule to contouring and highlighting that you'll have to stick to.

Areas commonly used to highlight


Areas commonly used to contour


Now I'll share with you how I personally contour and highlight:

Step 1: Many people wear their foundation and then contour and highlight. I skip the foundation part and start by adding the Rimmel Match Perfection concealer on all the areas that I want to highlight.  I apply it under my eyes in an inverted triangle shape, and I also add some on my forehead, chin, and cupids bow. I then use my damp sponge to blend all the concealer properly.

Step 2: I then apply the contour shade from the NYX Wonder Stick under my cheekbones, on my temples, and under my lower lip, I also blend that in using my damp sponge.
Tip: blend the contour in the direction that you want that area to appear in. For e.g. the cheekbone contour is usually blended upwards to create that high cheekbone appearance. Whereas, for the jawline, you'd want to blend the contour downwards to shadow or hide the appearance of a double chin.

Step 3: I finally set the concealed areas with a setting powder to avoid any creasing.

And voila! I end up with a subtle contour and highlight that doesn't look over done.

So that is it for today's post. Thank you so much for reading. These were my tips for contouring and highlighting. I hope that they were useful to those of you that want to experiment in that field. Don't forget to comment below if you've got any questions.

Monday 14 November 2016

Tangle Teezer Review


Hi everyone! Hope you’re all doing so well. I know that the Tangle Teezer has been around for ages, but I just recently decided to jump on the bandwagon and go get myself one. I personally have thin hair that gets tangled way too easily. So, whenever I use regular hair brushes, lots of hair falls every time and I knew that it’s about time to get myself a professional detangling brush that could help with my hair breakage issue. So, I went to my local Boots and grabbed myself one of the most hyped about brushes, the Original Tangle Teezer! Before I start, I’d like to mention that the following review will be specifically on the Original Tangle Teezer and not the other versions of the Tangle Teezer (such as the Elite, Travel etc..).


The Original Tangle Teezer

Description:


This brush is specifically designed to detangle your hair easily and without any effort. This brush comes in a unique size that fits into the palm of your hand. It is available  in several colours including pink, purple/pink, black, blue/pink and many others. I picked it in pink because the colour is VERY vibrant. You can never miss it when placed anywhere, especially when it's in my handbag. Unlike a traditional brush, the Tangle Teezer doesn’t have a handle, which might be tricky to use at first, but you can easily get the hang of it later. The teeth in this brush are designed in 2 different lengths (long and short) and that is explained as the main reason behind the effectiveness of this brush in detangling hair. This brush also states that it is perfect for both children and adults, and is hair extension and weave friendly. This brush can be used on both wet and dry hair.

Long and short teeth of the Tangle Teezer

What I like about this brush:

I love how this brush is VERY effective in what it actually states it does! It detangles my hair very easily without causing excessive breakage. I usually use it on dry hair (just because it is known that brushing dry hair is better) every day and brushing my hair was never this easy! I have also used it once or twice on wet hair and it detangles the hair just as effectively as it does on dry hair. Other than detangling my hair, I also find that it gives my hair an amazing shine. I also really love the colour (not your typical boring brush colours) and design of this hair brush. This brush is very compact and is great to pack and go. It fits everywhere, and if you like to carry your hair brush with you then you’ll really love the size of this brush!

What I don’t like about this brush?

This brush doesn't have a handle which can make it slightly trickier to use. It can also slip out of your hand once or twice when you start using it. However, with use, you will just get used to the design and you won’t really face this problem anymore. Other than that, I have nothing that I dislike about this brush.

Availability:


Available in the UK (obviously since it is made in England), US (found it on amazon.com and I’m sure it is available in other places too), and you can find it in Kuwait (Boots). I can’t comment on the availability in other countries as I haven’t checked, but you can easily search online to check whether it is available in your country.


Price:


Note that the following prices were based on today's search results. The prices might be different when you want to get yours.

UK: £10.99 (Boots), it can also be found cheaper on Amazon UK.

US: $9.21 with free shipping on Amazon.

KUWAIT: 5 KD (Boots).


Final thoughts:


I truly think that this brush is a life saver for anyone that has hair that is prone to tangling. I think it is perfect for children and adults. It is great for thin hair (own experience) and I have also read that it is so good for thick hair too. Surprisingly, some people have tried to use this brush on dogs and cats that have quite long fur! They have mentioned that it is perfect for animals too, however, I can’t really comment on that as I don’t have a pet. The price is also good as it is a brilliant brush to invest in. Finally I would totally recommend it :)

That is it for today’s post. Thank you so much for reading. Don’t forget to hit the subscribe button on my blog and check out on my instagram account: @beautyfull_247

Wednesday 9 November 2016

Collection Contour Kit Review

Hello lovelies and welcome back to my blog! Today's blog post will be on the Collection Contour Kit. I'm writing this post in a slightly different format from my previous posts just to make it easier for you to read and hop onto whichever section you'd like. So, let's get started!

Product description:

Both of the products found in this contour kit come in a powder form. One is a contour shade and the other is a highlighter. The packaging is very sleek and compact. The packaging also doesn't feel cheap which is always a plus. When you open the packaging, you will find a thin mirror strip which can be of handy when you're applying your contour and highlighter. The product weighs 10 grams, which I think is incredible for the little price tag this product has (the price will be listed in another section)! There is a small diagram on the back of the packaging that guides you on the places that are commonly used to contour and highlight (which can be helpful for beginners).

The Collection Contour Kit


What I like about this kit:

I honestly really like the contour shade. It is a beautiful shade that can look good on both fair and medium skin tones. The contour shade is VERY pigmented. So, a little definitely goes a long way. I would highly recommend having a very light hand when applying this contour shade, and just build it up if you want a stronger colour payoff. The lasting power of the contour shade is also superb! It literally stays on all day (no touch-ups needed :D).

Unfortunately, I don't have much to write about the highlighter shade in this section. For the reasons mentioned below.

What I don't like about this kit:

First of all, the only thing that I don't like about the contour shade is that it is kind of difficult to blend. That is why it is very important to tap any excess product off your brush before applying it. And as I mentioned earlier, just work your way slowly with this shade to get amazing results.

As for the highlighter, I am not really a big fan of it. It is not very pigmented, and it doesn't have enough colour pay off. You really need to layer it in order to see a satisfying difference, which in turn, it can make it look chalky. The lasting power of the highlighter also isn't the best. It however, is great for those that like a subtle highlight.

Price: 

The price for this kit is 4.19 GBP, which for the size of product that you get, is incredible. You can also get it for cheaper with the occasional 3 for 2 offers they have in Boots and Superdrug.

Availability: 

As far as I know, Collection is not available in Kuwait. I picked this product up when I used to live in England.

Swatches:

Swatches of both the contour and highlight shades can be seen in the picture below!


Swatches of the contour and the highlight shades


Final thoughts:

I think that this is a very affordable contour kit that can look good on fair and medium skin tones. The contour shade is great, but needs to be applied with a light hand in order for it to blend well. The highlight shade is not my cup of tea for the reasons mentioned above, but it can be perfect for those that want a very subtle highlight. So, if you are still a beginner and want to experiment with contouring and highlighting, then this is a great and affordable kit to start with.

This is it for today's post. As always, leave any questions down below. Thank you for reading!


Thursday 3 November 2016

Favourite Red Lipsticks


Hello lovelies and welcome back to my blog! Today's post will be on some of my favourite red lipsticks/lip crayons. I have included both drugstore and high street products. I am more of a nude lipstick girl but I do love spicing up my look and outfits with classic red lips from time to time. Since we are currently in the autumn/fall season, red lips can always look so great and trendy. So without any further ado, below is a list of some of my favourite red lipsticks/crayons.

1)      MAC Ruby Woo:


Mac Ruby Woo has to be on top of this list! This is an absolutely gorgeous classic red lipstick that has cool undertones. Whenever I wear this lipstick I always get so many compliments! It has a very matte finish. It can however be a little drying on the lips so I’d recommend you exfoliate and moisturize your lips well before applying it. The staying power of this lipstick is also great and the pigmentation is fantastic (one swipe is more than enough!). I ran out from this lipstick so I won’t include a picture of me wearing it, but you can find plenty of pictures all around the web.

2) NARS lip crayon in the shade Cruella:


This is a beautiful deep red colour that is not too warm or too cold, and thus making it great on all skin tones. It has a matte finish with a creamy velvety texture. It does not dry your lips at all and is not chalky. It also glides on very easily. The lasting power is also good. This deep red shade is perfect for all seasons, but I specially love wearing it in autumn and winter. It is one of those lip crayons that you can easily wear and pull off. Only con is that you have to sharpen the crayon which can slightly be messy at times.  

3) Bourjois Sweet Kiss lipstick in the shade Rouge Sur Mesure:


It is a beautiful bright red that suits different skin tones. It is very moisturizing and it gives a nice glossy finish. This lipstick is highly pigmented and it does not bleed when on. You can also layer this lipstick very nicely without looking chalky. The only con is that the staying power is not the best. So with eating and drinking you will have to reapply to keep it looking great.

4) Bourjois Color Boost in the shade Red Island:


 It is a beautiful classic red that has a shear finish. It is perfect for those that want to start with wearing red lipsticks but don't want a full on in-your-face kinda red lips (so perfect for new red lip wearers). It has a shiny look and it applies on very smoothly. It is very moisturizing and is not sticky at all. You can also easily build it up. This lip crayon is both waterproof and has a SPF 15 giving it an advantage over many lipsticks/lip crayons in the market. Another advantage is that this lip crayon does not need any sharpening since it has a twist at the end that can be used to reveal more product.


Lipstick colours from top to bottom: Red Island (Bourjois), Cruella (NARS), and Rouge Sur Mesure (Bourjois).


So this is all for this weeks post. As always, leave any of your questions down below. Thank you so much for reading!